Deploy Smart Contracts at RSK Local Node with Geth and Remix
RSK’s virtual machine implementation is compatible with the Ethereum virtual machine (EVM), which enables us to make use of many of Ethereum developer tools.
In this tutorial I will show you step-by-step how to compile a smart contract using Remix and deploy it on a local node using Geth.
Overview
We will do these steps:
- Run a RSK local node;
- Connect with a RSK local node using Geth attach;
- Create a smart contract in Remix;
- Compile it;
- Create a Javascript deploy file;
- Deploy the smart contract in the Geth console;
- Interact with the smart contract.
Requirements
- Java JDK
- RSK local node
- Geth
- Remix - web tool, online
You will need to complete this tutorial before proceeding: Using Geth attach to a RSK local node.
Run a RSK local node
To run the node:
java -cp <PATH-TO-THE-RSKJ-JAR> co.rsk.Start --regtest(Replace
Check the tutorial: using Geth attach to a RSK local node for more details on how to do this.
Connect with a RSK local node using Geth attach
geth attach http://127.0.0.1:4444Check the tutorial: Using Geth attach to a RSK local node for more details on how to do this.
Remix
Go to Remix
In the home page, choose environment Solidity

Create a smart contract
Create a new file
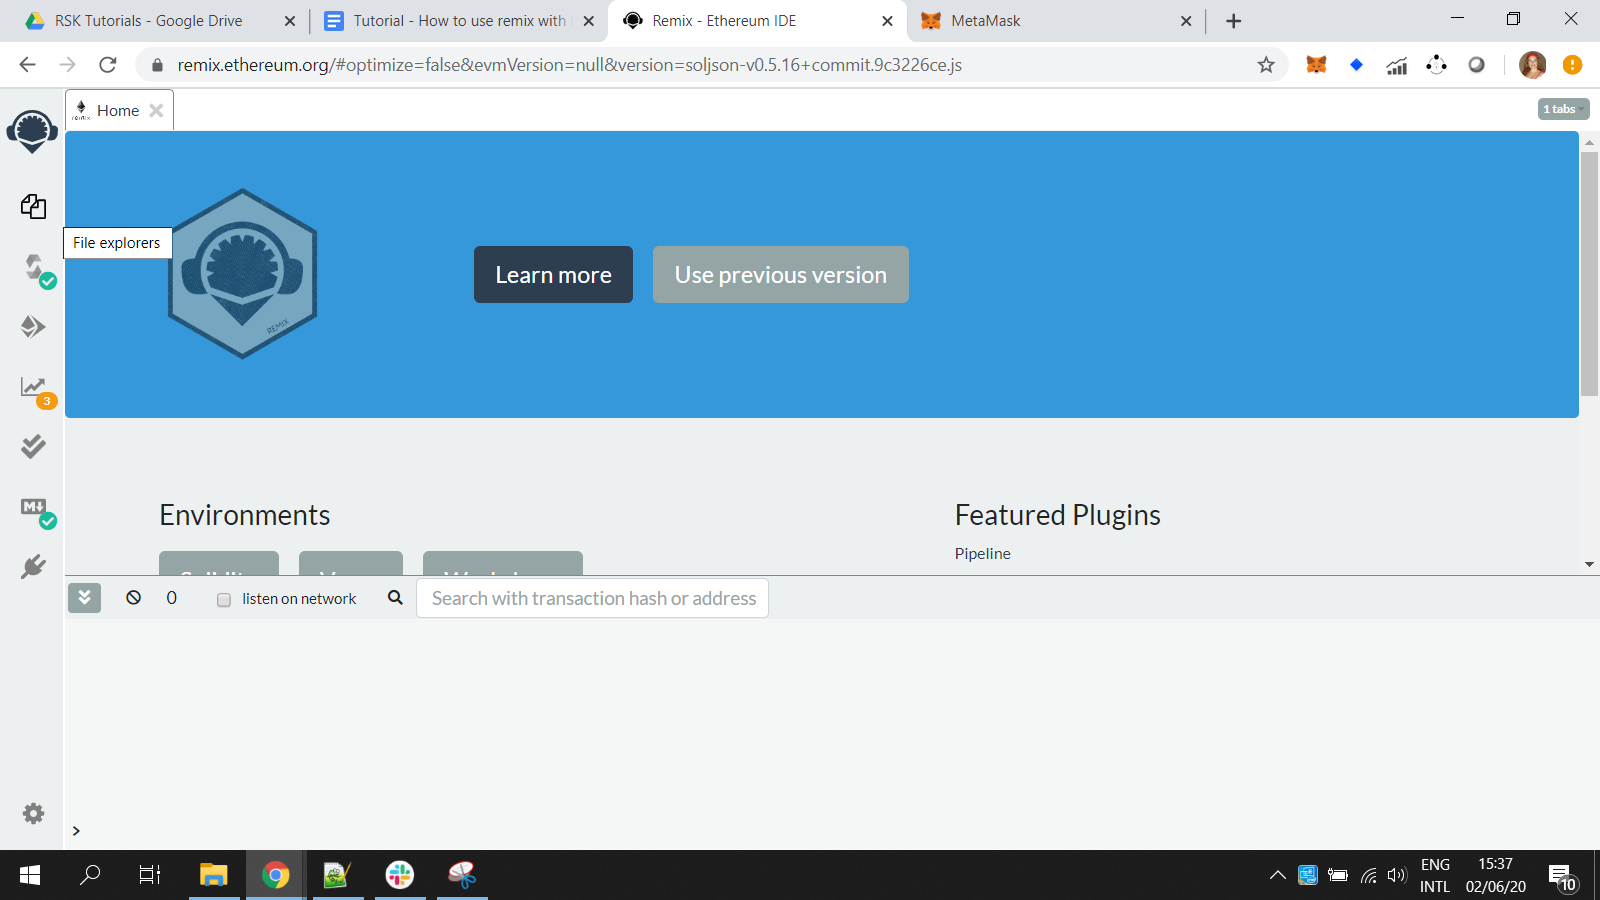
Click on the second button on the left side - file explorer
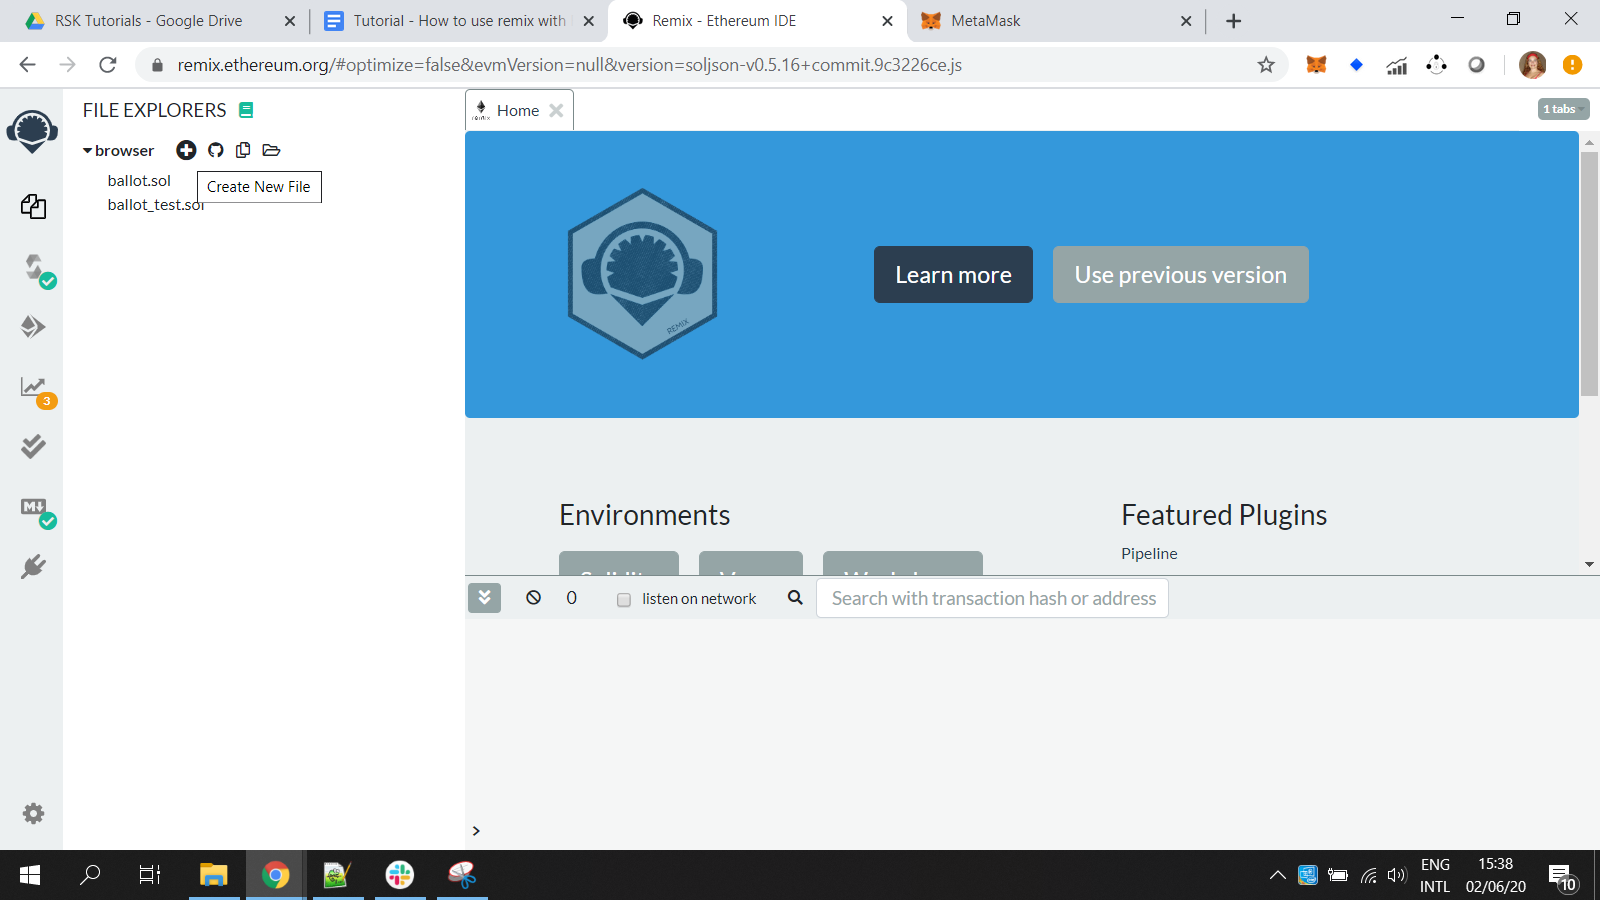
Click on the + button to create a new file
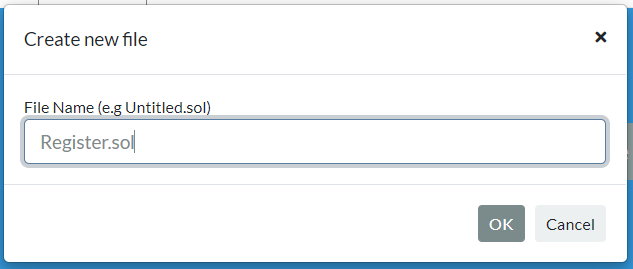
File name: Register.sol
Copy the smart contract from the following gist, or inline below:
pragma solidity 0.5.4;

contract Register {
    string private info;

    function setInfo(string memory _info) public {
        info = _info;
    }

    function getInfo() public view returns (string memory) {
        return info;
    }
}
Paste it into Remix here:

Register.sol
This smart contract has:
- A variable
infoto store a string - A function
getInfo()to return the string stored at variable info - A function
setInfo()to change the string stored at variable info
Compile a smart contract
Check if it is compiled, or configure auto-compile.
In the 3rd button at left side click on Solidity compiler
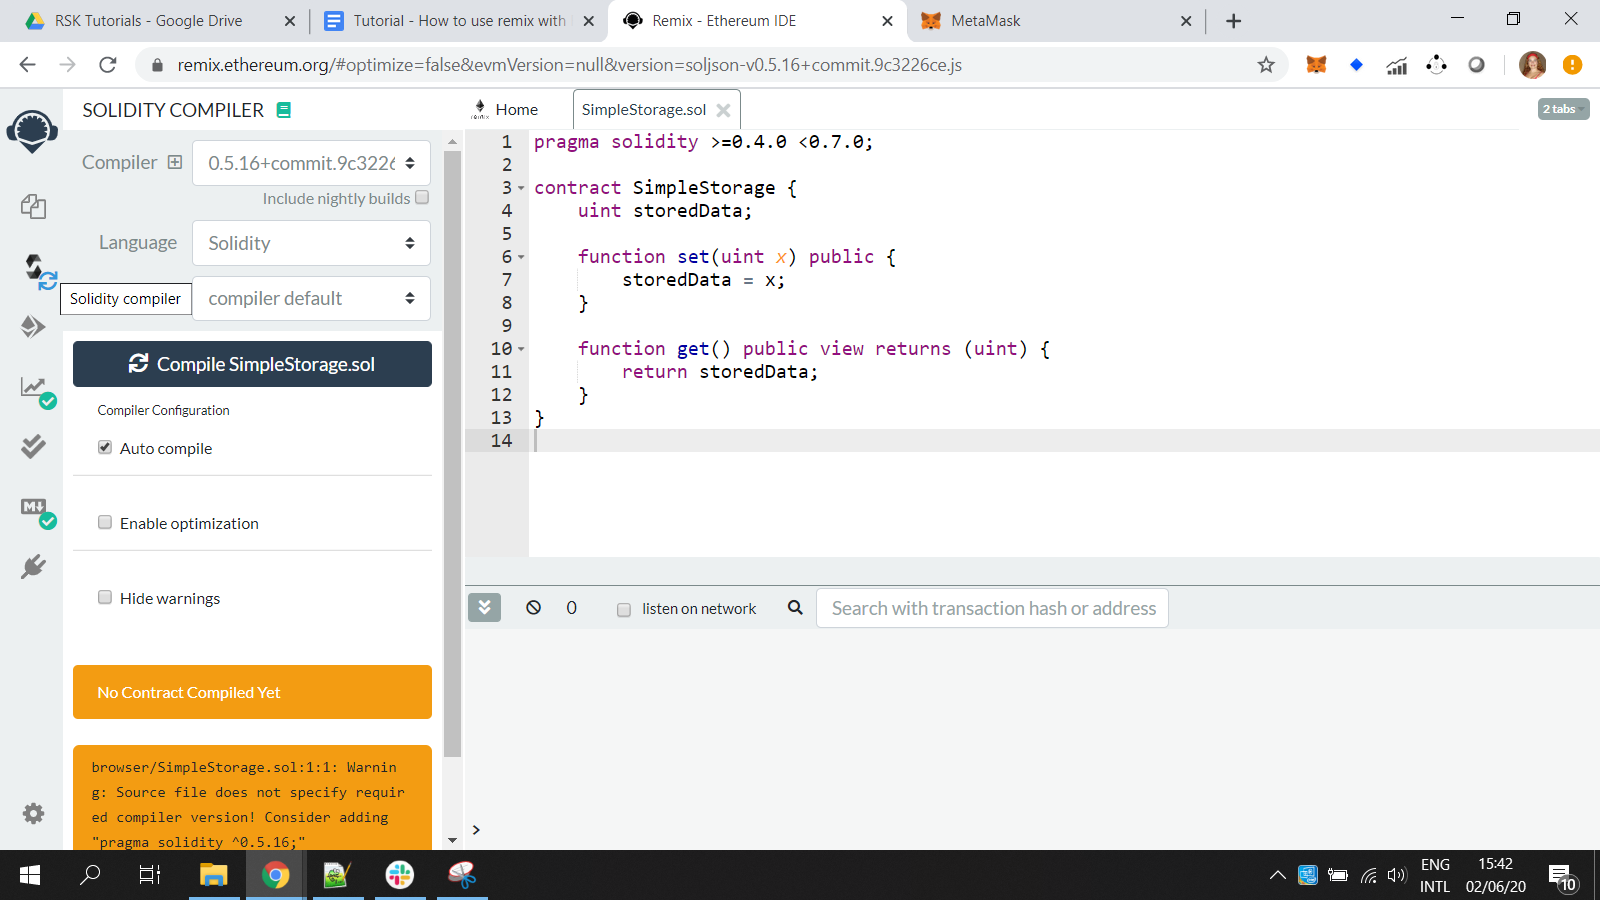
It is useful to enable auto-compile:
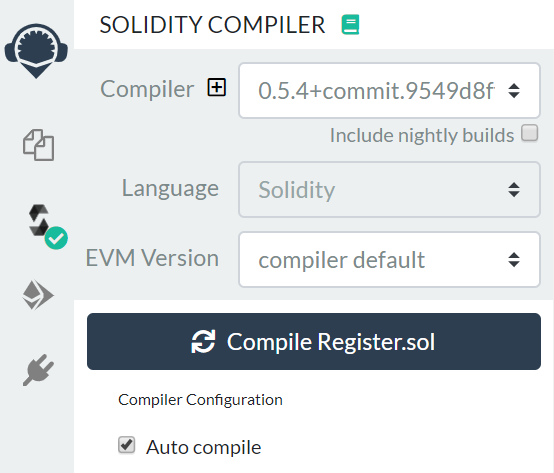

For now, click on the button Compile Register.sol

Check the green sign at 3rd button with the message compilation successful:

Create a Javascript deploy file
Remix generates a script to deploy a smart contract and it can be used at geth console to deploy it at RSK local node.
In the editor of your choice, create the file register.js.
I am using Visual Studio Code. If you would like to use it too, you can download it here.
I also created a folder called Register to put this file in.
Full path of my file is:
On Windows:
C:\RSK\Register\register.jsLinux, Mac
/RSK/Register/register.js
Switch back to Remix.
Solidity compiler screen has a button at the end of left size called Compilation Details:

It will open a new window. Scroll down until you find web3Deploy.

Click on the copy button at right side of the word web3Deploy:


Paste it into register.js and save the file.

Remix creates a script to deploy a smart contract and it can be used in a geth console to deploy on a RSK local node.
Deploy the smart contract at Geth console
This is quite simple, we load the script using the following command:
loadScript("C:/RSK/Register/register.js");For Mac users type
pwdto locate the current path you're on.
Note that even if you are using Windows OS, the file path should use / instead of \.

After several messages, as soon as the smart contract is included in a block, you will get the message "Contract mined!".
Usually, the command prompt disappears after the return message. You may press any key to show it again.
Interact with the smart contract
The first thing to do is check if our instance is OK.
Put the instance's name (register), hit ., then hit TAB twice to trigger autocomplete. This will display the published address, transaction hash of deploy, among other things, including all methods available.
register . [TAB] [TAB]
getInfo
It returns the string stored at variable info.
You can check if we have some info at smart contract:
register.getInfo()
We do not have any info stored, because we did not define anything when we deployed.
setInfo
A function to change the string stored at variable info.
Let us save some information in the smart contract by invoking it:
register.setInfo("RSK", {from:eth.accounts[1]})
We got a transaction hash because we sent a transaction to change the state of a smart contract.
getInfo (again)
Now we have the value "RSK" saved, and we can check it.
Run the function getInfo() again:
register.getInfo()
And it returned the info RSK.
Great - now we have stored information in our smart contract, and are able to retrieve it!
Final considerations
Did you think that it would be so easy to compile a smart contract creating a script to deploy it using Remix, a very useful Ethereum tool, deploy it to your local RSK node using Geth and interact with your smart contract in a simple way?
I showed to you how we can use some Ethereum developer tools, and it is great to realize that they can be used on the RSK network as well.
Our goal is to join forces and give options to people who believe in smart contracts based on Ethereum, and also believe in the power of Bitcoin, through RSK.
I hope this tutorial has been helpful and I'd appreciate your feedback. Share it if you like it :)